Coastal Market Days: A Month-by-Month Local Guide
October 30, 2026 - Local Guides

October 30, 2026 - Local Guides
October 29, 2026 - Local Guides
October 25, 2026 - Local Guides
October 23, 2026 - Sea Views
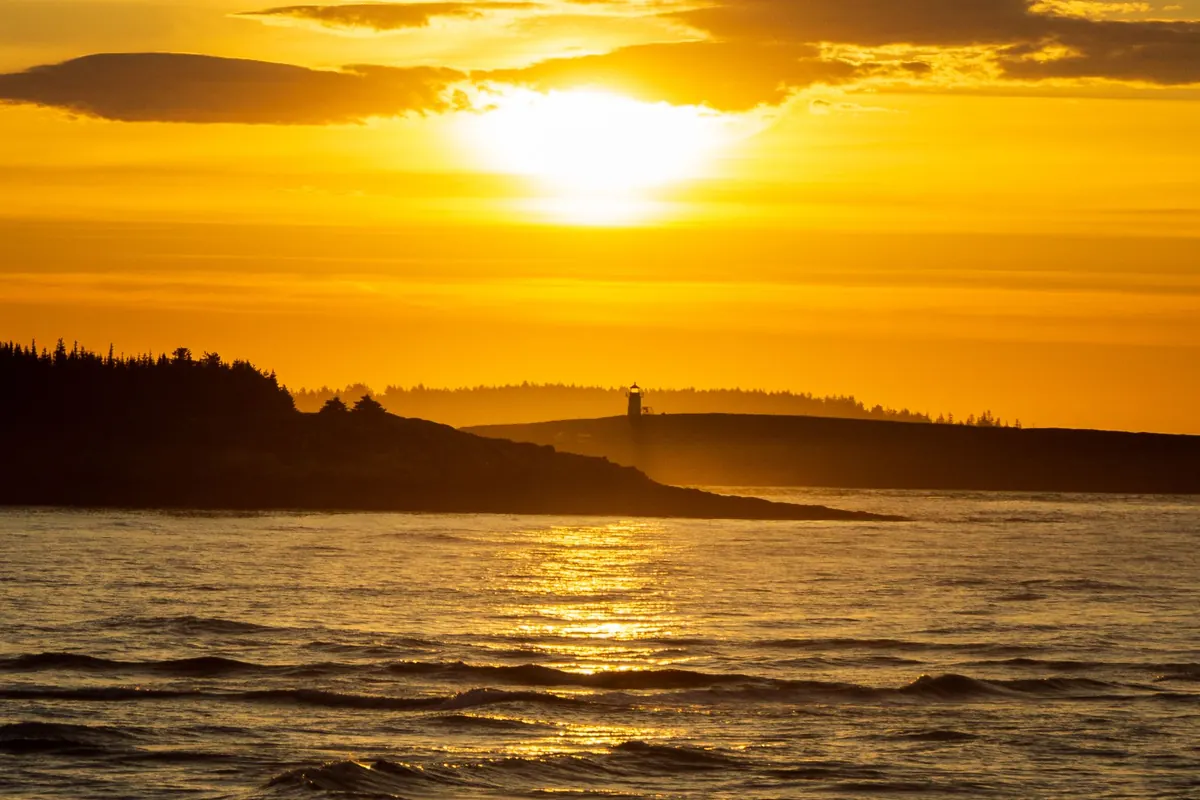
The first time you photograph a lighthouse at golden hour, the temptation is to arrive late, point the camera at the tower and hope. That rarely works. Light is the subject as much as the building is, and the good light at either end of the day lasts less than an hour — sometimes only a few minutes once cloud and haze have their say. The photographers who come back with the pictures are usually the ones who scouted the spot in the afternoon, set up before the sun dropped, and knew exactly which settings they wanted. Everything below is aimed at getting you into that position on your first serious attempt.
Golden hour is the window just after sunrise and just before sunset when the sun sits low and its light travels through more atmosphere, turning warm and soft and raking across surfaces. The exact minutes vary with latitude and season; a sun-position app will give you sunrise, sunset and — more usefully — the compass bearing of the sun at any given moment. Check that bearing against a map before you go.
Why does it matter? Because the difference between a front-lit tower and a side-lit one is enormous. Stand east of a lighthouse at sunset and the sun is behind you, lighting the tower evenly in clear warm colour with the sea beyond it. Stand west and you get a silhouette, with the sun in or near the frame. Stand north or south and the low light rakes across the stonework, picking out texture and the shadow of the gallery railing. All three can work; only one is available on any given evening from any given car park.
Arrive 45 to 60 minutes before the light is at its best. That gives you time to walk the site, find the angle, set up a tripod and make a few test frames while the light is still ordinary. It also lets you see what the foreground does: which rocks hold a reflection, where the path leads, whether there is a fence you will need to work around.
Weather is worth watching. Clear skies give a clean gradient of warm colour but little drama. Broken cloud is often better, throwing colour across the sky and letting shafts of light through. A thick bank of cloud sitting on the horizon will usually kill the final ten minutes of a sunset, so have a plan for the blue hour afterwards rather than driving away disappointed.
You do not need an exotic setup. A camera with a wide-to-standard zoom and, if you have one, a telephoto zoom will cover nearly everything. Put it on a tripod if you own one. Then work through this short list before the light peaks:
Leave white balance on daylight or auto and adjust it in processing. It is one less thing to think about while the colour in front of you changes by the minute.
Distance changes the picture more than any lens you can buy. From 150 to 300 metres back, a 70–200mm lens compresses the scene and makes the lighthouse stand tall against the sky, with the sun as a bright disc behind or beside it. Move in close with a wide lens instead and the tower becomes an anchor for foreground detail: wet sand, tide pools, dark basalt, a curl of wave.
Get low. Kneeling or lying down on wet rock brings the horizon down, enlarges the foreground and catches reflections that vanish at eye level. A shallow pool between you and the tower doubles it in warm light, and that is often the difference between a snapshot and a photograph.
Then look for structure. Offset the tower rather than centring it, and give the eye somewhere to travel: a fence line, a path, a breakwater, a moored boat, a line of gulls. Keep the horizon level — a wonky sea is the most common giveaway of a rushed shot.
Silhouettes deserve their own attempt. Expose for the brightest part of the sky and let the lighthouse go black. It only works when the outline is unmistakable: the gallery, the lantern room, the shape of the rock beneath it.
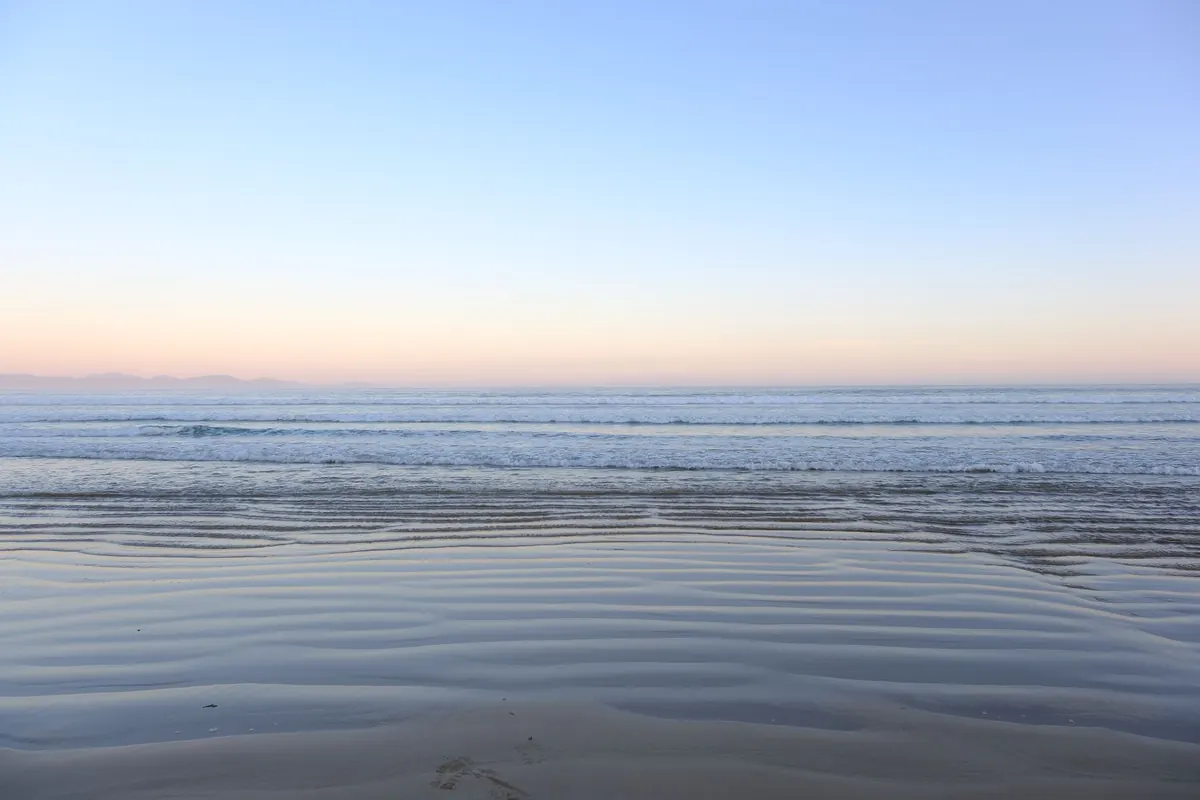
The ten to twenty minutes after the sun disappears are frequently the richest of the evening, as the sky turns pink and violet and the lamp comes on. Twenty to forty minutes after that comes the blue hour, when the sky is a deep even blue and the tower's light is a warm point against it. Exposures stretch to several seconds; keep the tripod steady and stay in RAW to hold the colour.
Balance matters here. If the lamp is bright and the sky is dim, take one exposure for the sky and one for the light, then combine them — or simply wait for the sky to darken until both sit comfortably in the same frame.
Salt spray settles on the front element within minutes. Carry a microfibre cloth and blot rather than rub, especially if there is sand about. A lens hood keeps stray light off the glass and shields it from spray; a polariser will deepen the sky and cut glare on wet rock, and an ND filter helps when you want a long exposure in bright conditions.
Weight your tripod — hang a bag from the hook — and keep spare batteries warm in a pocket. A headlamp with a red setting saves your night vision and is politer to anyone else on the headland. Check tide tables before you walk out onto rocks, never turn your back on the sea for long, and stay well back from cliff edges, where grass and stone give way without warning. No photograph is worth a soaking or a fall.
Give yourself two or three evenings at the same lighthouse if you can. The first is for learning the place, the second for the light, and the third for the picture you actually wanted.
Photo: Matt Barnard / Pexels
A month-by-month tour of coastal markets — what each season puts on the stalls, when to arrive, and which nearby...
Winter strips coastal towns back to bakeries, ferries and empty headlands. A practical guide to what closes, when,...
October 30, 2026 - Local Guides
October 29, 2026 - Local Guides
October 25, 2026 - Local Guides
Copyright © 2026 Faro Viva. All Right Reserved.